Posts


http://boatnutmagazine.com/
HOLES IN MY BOAT / Fiberglass Part 3 How to fix holes in the fiberglass

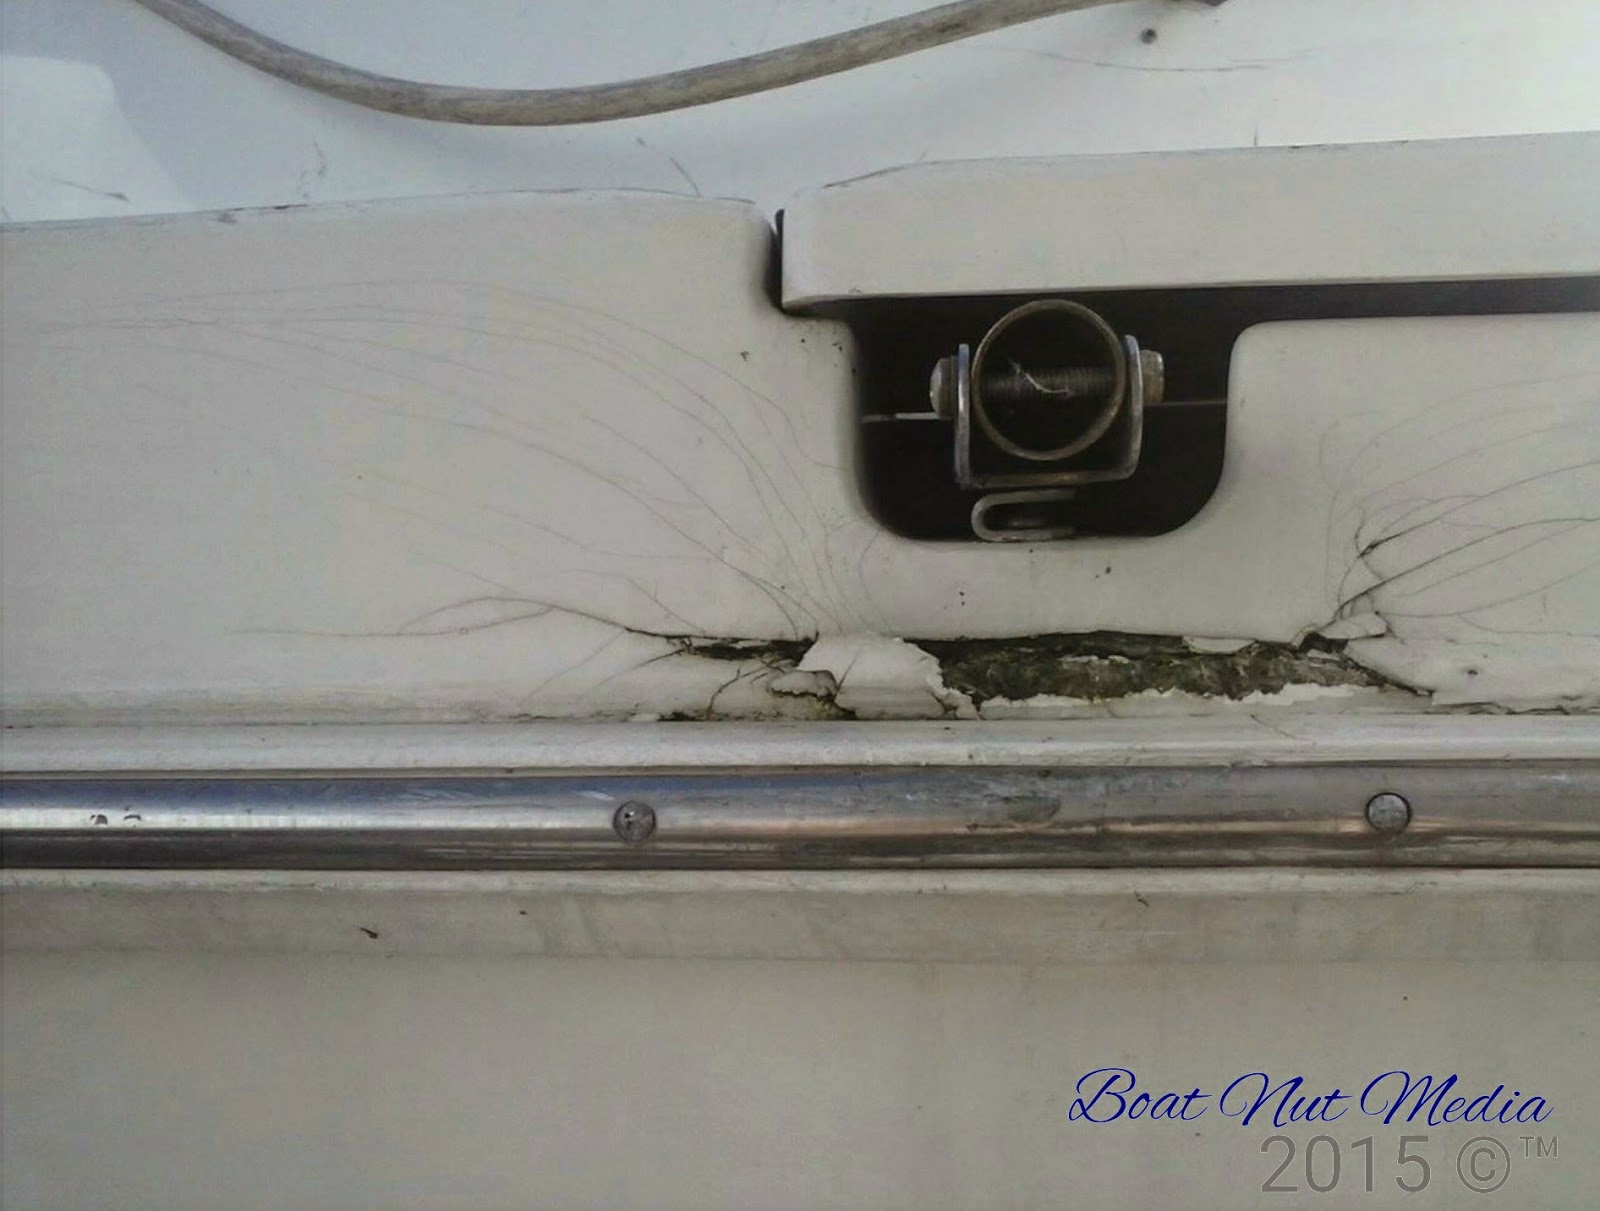
This happens on every boat over time we either install new canvas, electronics or snaps pull out of the deck, and there you have it a hole. I will be it a small hole but these are the most common holes in a boat. There are a few steps that need to be taken in the case of any small holes in the fiberglass of your boat.
Do not leave these holes unattended as this is a place were moisture will enter and start to break down the lamination, and worse yet if core is exposed create a place for wrote to set in!
- The first question you need to ask is are you going to drill a new hole in the same place.
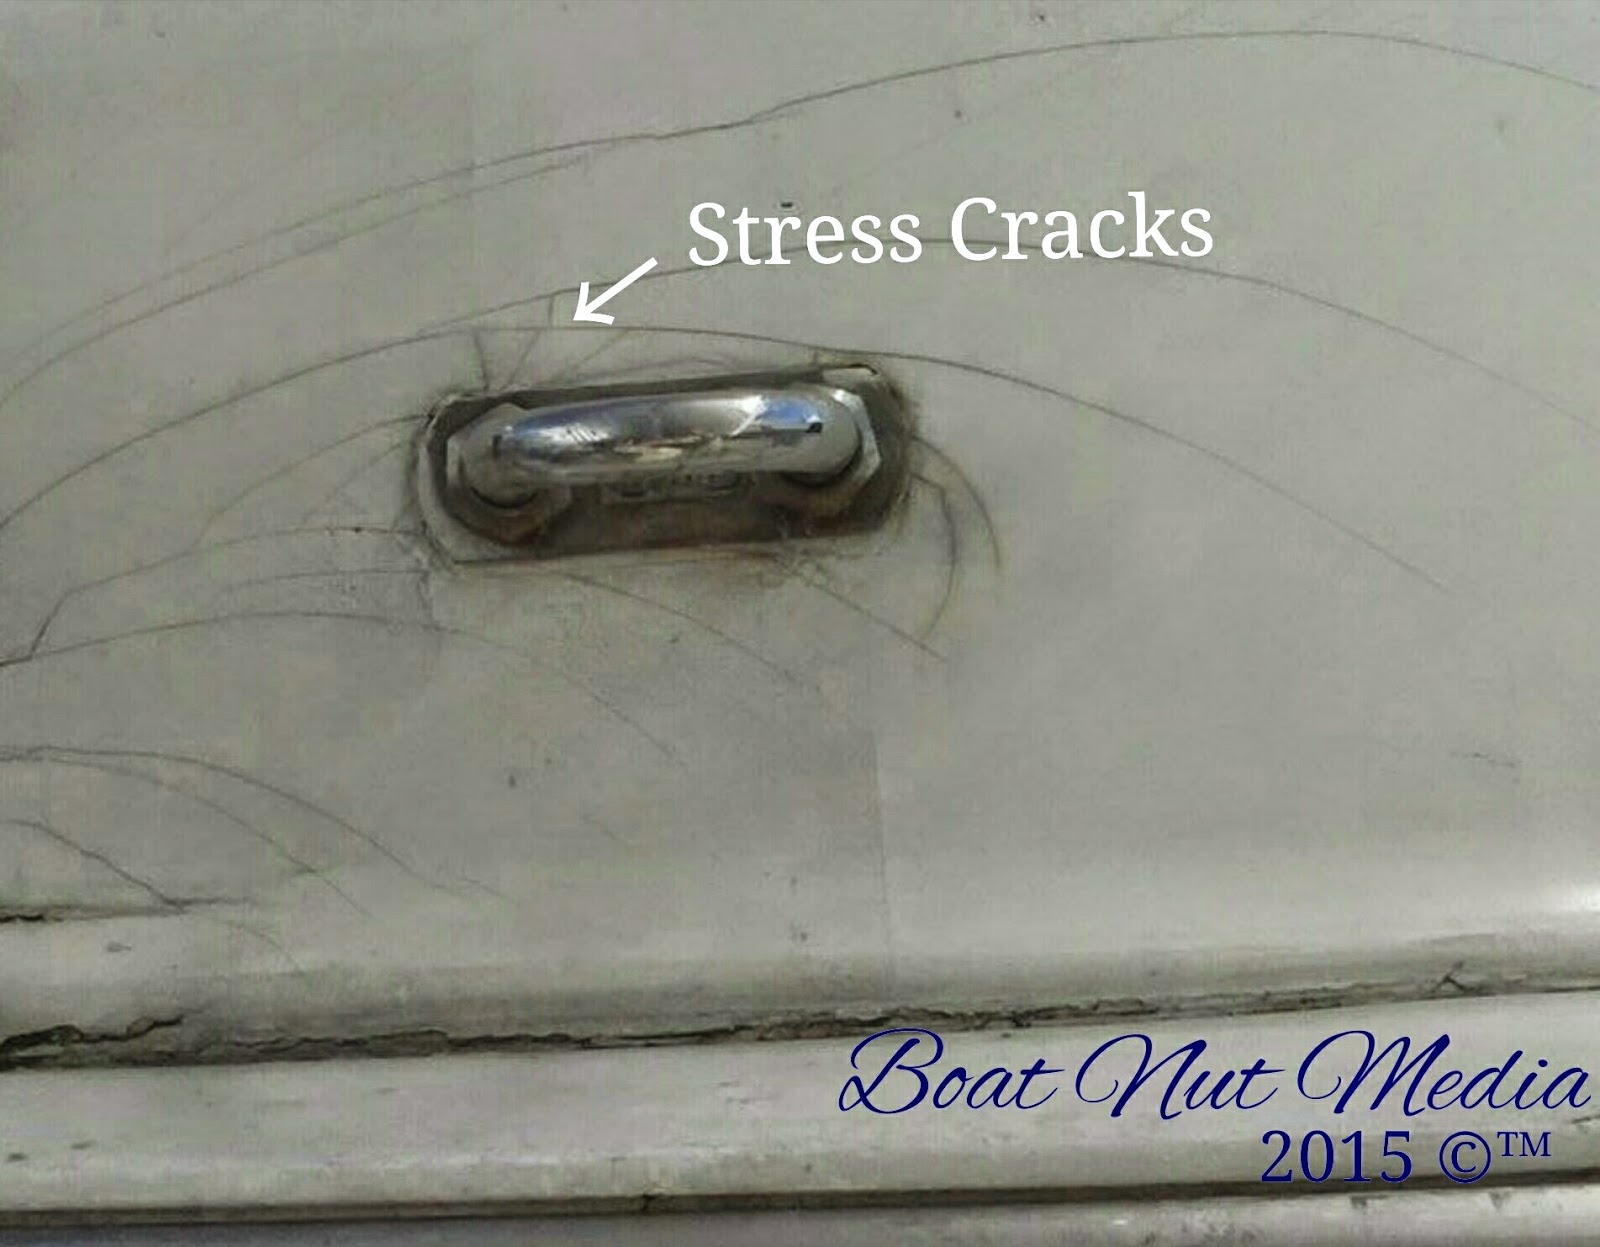
- Are there stress cracks around the hole.
- What color are you going to have to match. (If you don't know contact the manufacturer with Hull ID Number)
- How large is this hole.
- How many holes are there and are they all in one area
- Can you get to the back of the hole(s)
- Is the hole into some type of structure ( is there wood core at the bottom of the hole)

Each one of these answers places a role in the repair you will have to complete, For small holes the procedure is straight forward. You will need a few tools and supplies:
- Drill with a large rasp bit with a rounded end
- 120 sand paper, 400, 600, 1200 wet and dry sand paper
- A small trowel ( I like an oil paint trowel the long one with a rounded tip)
- Acetone
- Clean rags
- Pencil
- 3/4 inch masking tape (blue)
- Polyester resin c/w catalyst
- 2 Small mix cup
- Clean mix board (a clip board works good)
- Pre Val Sprayer
- Masking paper
- Buffer and compound ( I make my own compound) a supplier will advise what they have
- Color Match gel coat
- Cabosil
- Small sanding block
- Patch Aid (speed will be fast)
- Milled fiber or Chop Strand fiberglass
- Water spray bottle
- If you choose you can purchase a premix color match gel coat patch kit ( your local fiberglass supply company can advise you if this is available)
Some advice from over 39 years and being a top rated fiberglass tech, forget all the BS about needing to use any thing other than Polyester resin. If the area were the hole is requires more than what this repair procedure out lines such as water or dry wrote you will need to consult a pro or get further information on procedure to repair. You need to know that epoxy and vynlester resin do not bond to polyester resin unless you provide a mechanical bond. You will pay more for fancy resins and they are NOT, I repeat NOT healthy for you to use! Do not let anyone bull shit you.
Procedure to Repair:
- With your drill and the rasp tip, put the drill in reverse. The reason for this is that in forward with a sharp rasp you can simply bore a bigger hole in the area you are trying to fix. On slow speed you will place the rasp dead center of you hole and remove some of the gel coat and some of the pink fiberglass behind it. You are looking to create a clean dimple were the gel coat has a nice tapper all the way around. It should look like an over size golf ball dimple with the pink fiberglass and drilled hole in the center, at the bottom of this dimple.
- Around the hole with 120 sandpaper on a sanding block remove the shine for 2 inches all around the dimple. Do not make a hollow around the dimple simply remove all shiny gel coat surface.
- Clean the area with acetone and rag, remove all dust and be sure to let some down the hole. Acetone not only cleans the surface but it drives moisture out.
- If you are certain that you have removed any chipped or cracked gel coat than you can now get your masking tape. Mask around the hole half way onto your sanded area. You should have 1 inch of sanded area showing around the dimple and 1 inch under the tape. Make the tape line two layers thick. this will allow for the fill gel coat to shrink during curing.
- If you can get to the back of the holes mask over the area so resin doesn't drip out onto what ever is below the area. Mix up some milled fiber with resin following the manufacturers instructions, add you catalyst and mix again. Take this mixture and stuff the actual drilled hole only, do not fill the entire dimple. Allow to cure completely and again with the drill running backwards clean up the dimple and wipe with acetone. You should now have a dimple without a drilled hole at the bottom.
- Mix up your gel coat and cabosil combination until you have the consistency of peanut butter, add your speed patch and if the fill gets to runny add more cabosil until you have a peanut butter consistency again. This fill must be just like smooth peanut butter, take a large enough amount of fill, (to over fill the dimple) place it on the mix board and add catalyst, you must be sure the catalyst is mixed all the way thru the fill. Take your trowel and fill the dimple to the height of the masking tape , create a nice even top to the fill area and immediately remove the tape. clean your trowel with acetone and a rag.
- Allow to fill cure completely. If you have added patch aid, the fill will be dull and not sticky to the touch when cured. Run a dry buffer over the fill before you sand this will pre shrink the fill. take your pencil and write all over the repair area, you will use this as a guide to see when your flat and fair. With your block sand down the repair area with 120 sand paper until surface is even or very close to it.
- You now have two chooses you can spray the repair area or sand it out and polish, if you choose to sand it out grab a pencil and write all over the area that you have sanded with 120 and now sand with 400 wet and dry with water ( use your spray bottle and add a few drops of dish soap), use a sanding block and sand until the pencil marks are gone repeat with 600 and 1200. When you are done simply buff the area up and check the results.
- If you do not like what you see sand the area down with 120 and follow the next procedures. In some cases just the fill and finish works great, this is usually based on the gel match quality.
- If you intend to spray you will leave the area at the end of the 120 sanding, clean with acetone and mask an area of at least 6 inches by 6 inches, this area must be sanded slightly larger with 120 sand paper. Mask the area spray off allowing the masking line to be just inside the sanded area place masking paper around the spray area use the masking line as your guide.
- Grab your Pre Val sprayer read the instructions and take the glass jar and lid out. you will mix the color match gel coat and patch aid per mixing instructions this will seem like a thin mixture do not compare to paint. You can add a small amount of acetone but only if necessary to thin down not to much it can yellow the color. Place the lid on and shake the mixture now you can add your catalyst. You will have about 5 min max to spray and clean the Preval Sprayer. Grab a clean rag with acetone and wipe the spray area again just before you spray ( to get ride of dust). Hold the Preval back about 8 inches and start in the middle and spray your way out tapering the spray towards the tape line this is important. Usually three or four passes will work. Remove the tape and masking paper right away. Allow to cure completely. To clean the Preval simply dump out the gel coat in a jar and fill and spray acetone through the Preval
- Once the spray area has cured. You will use the same pencil trick write all over the repair area only this time you will only sand with the 400, 600 and 1200 wet sand papers with the water bottle. Once you are completely sanded buff and clean up. This method not only fills the hole but will last as along as the boat and you can re drill this very spot again in the future.
Any of these steps can be repeated if necessary to create a good fill or good spray, Step by step video will be available in our spring Magazine. Look for it and buy it on line!!!!!
If you have several holes together simply treat each hole individually and make your spray area over the entire area as one. The truth is 90% of a great repair is in the color match, if you are not that fussy about the match the repair will last and the fade from the sun will eventually make the area harder to see over time. Just buy quality materials!

If you read our blog on colored hulls it goes into more detail on how to buff to a factory finish...
Author BW
To guarantee access to all of Boat Nut Magazine articles, pictures and featured services visit the official Boat Nut Magazine ©™ website. Be sure to reply to the Boat Nut Association registration on our site for the latest Boat Nut weekly and monthly news letters and opportunities.
Copyright 2015 © Boat Nut Media, Toronto, Ontario. All rights reserved. No part of this information/publications may be stored in a retrieval system, transmitted, or reproduced in any way, including but not limited to photocopy, magnetic, or other record, without prior agreement and written permission of the publisher, Boat Nuts Media ©™ No liability is assumed with respect to the information provided.